The worlds finest flapjack recipe
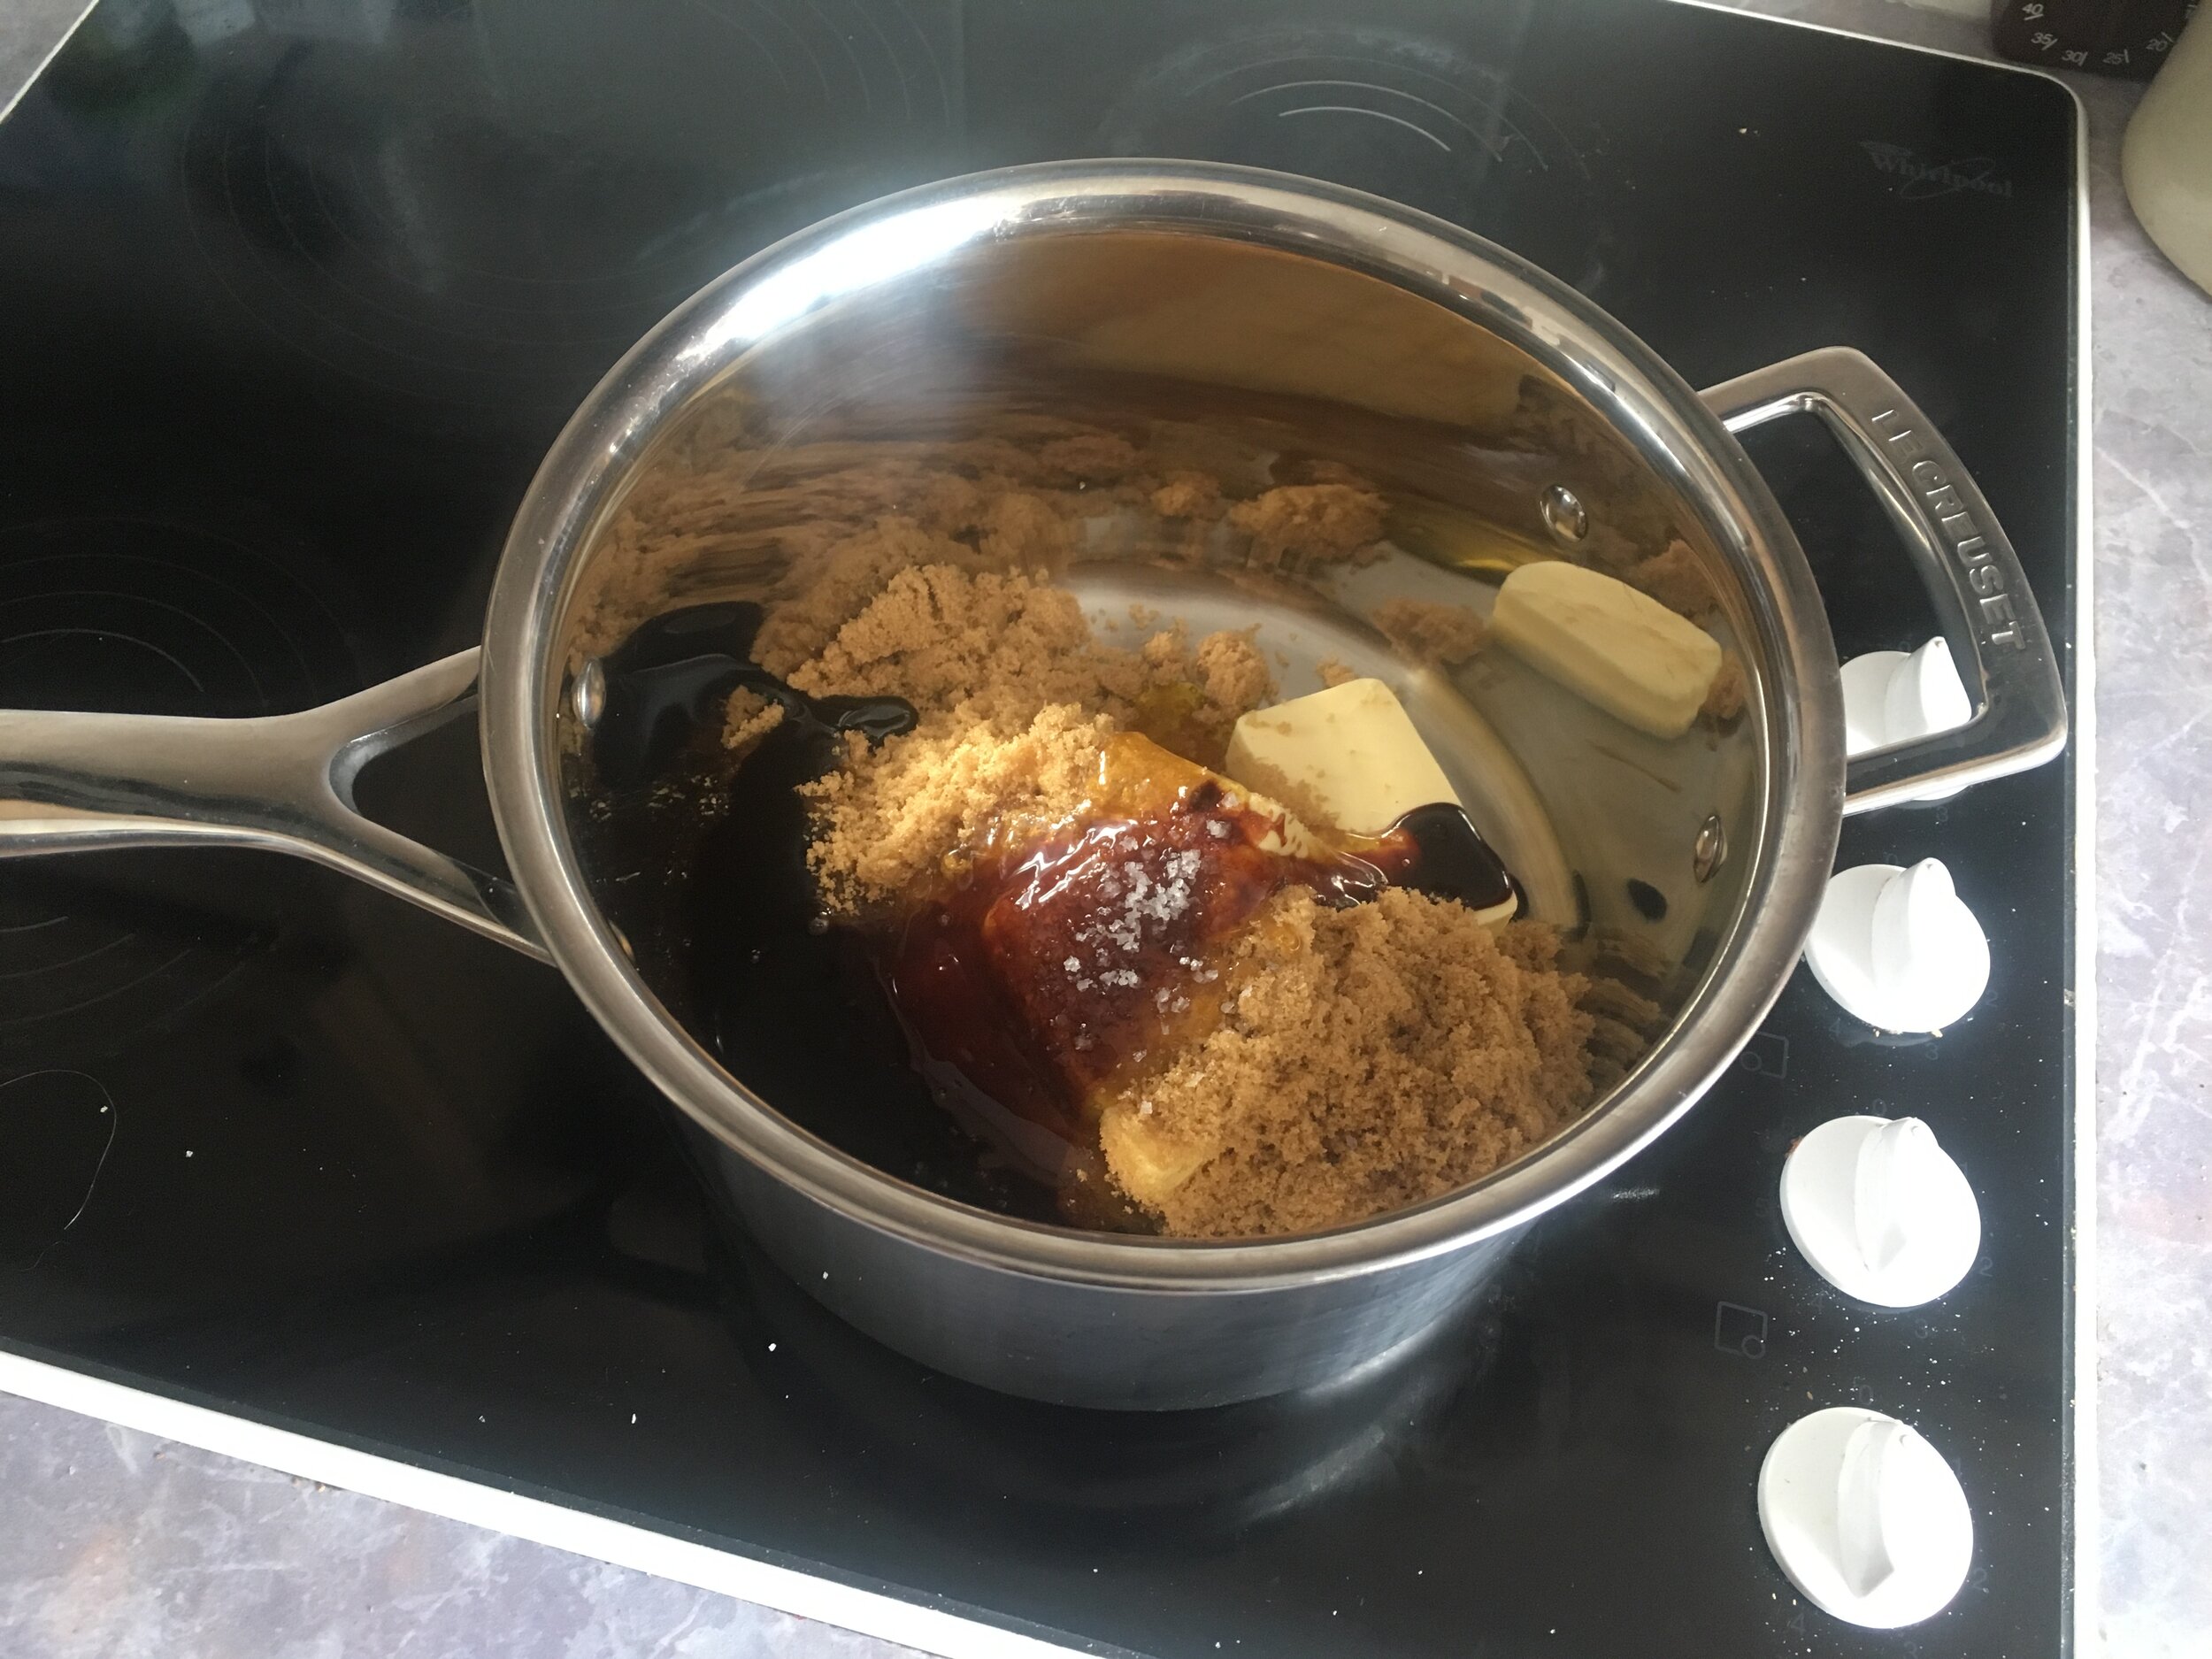
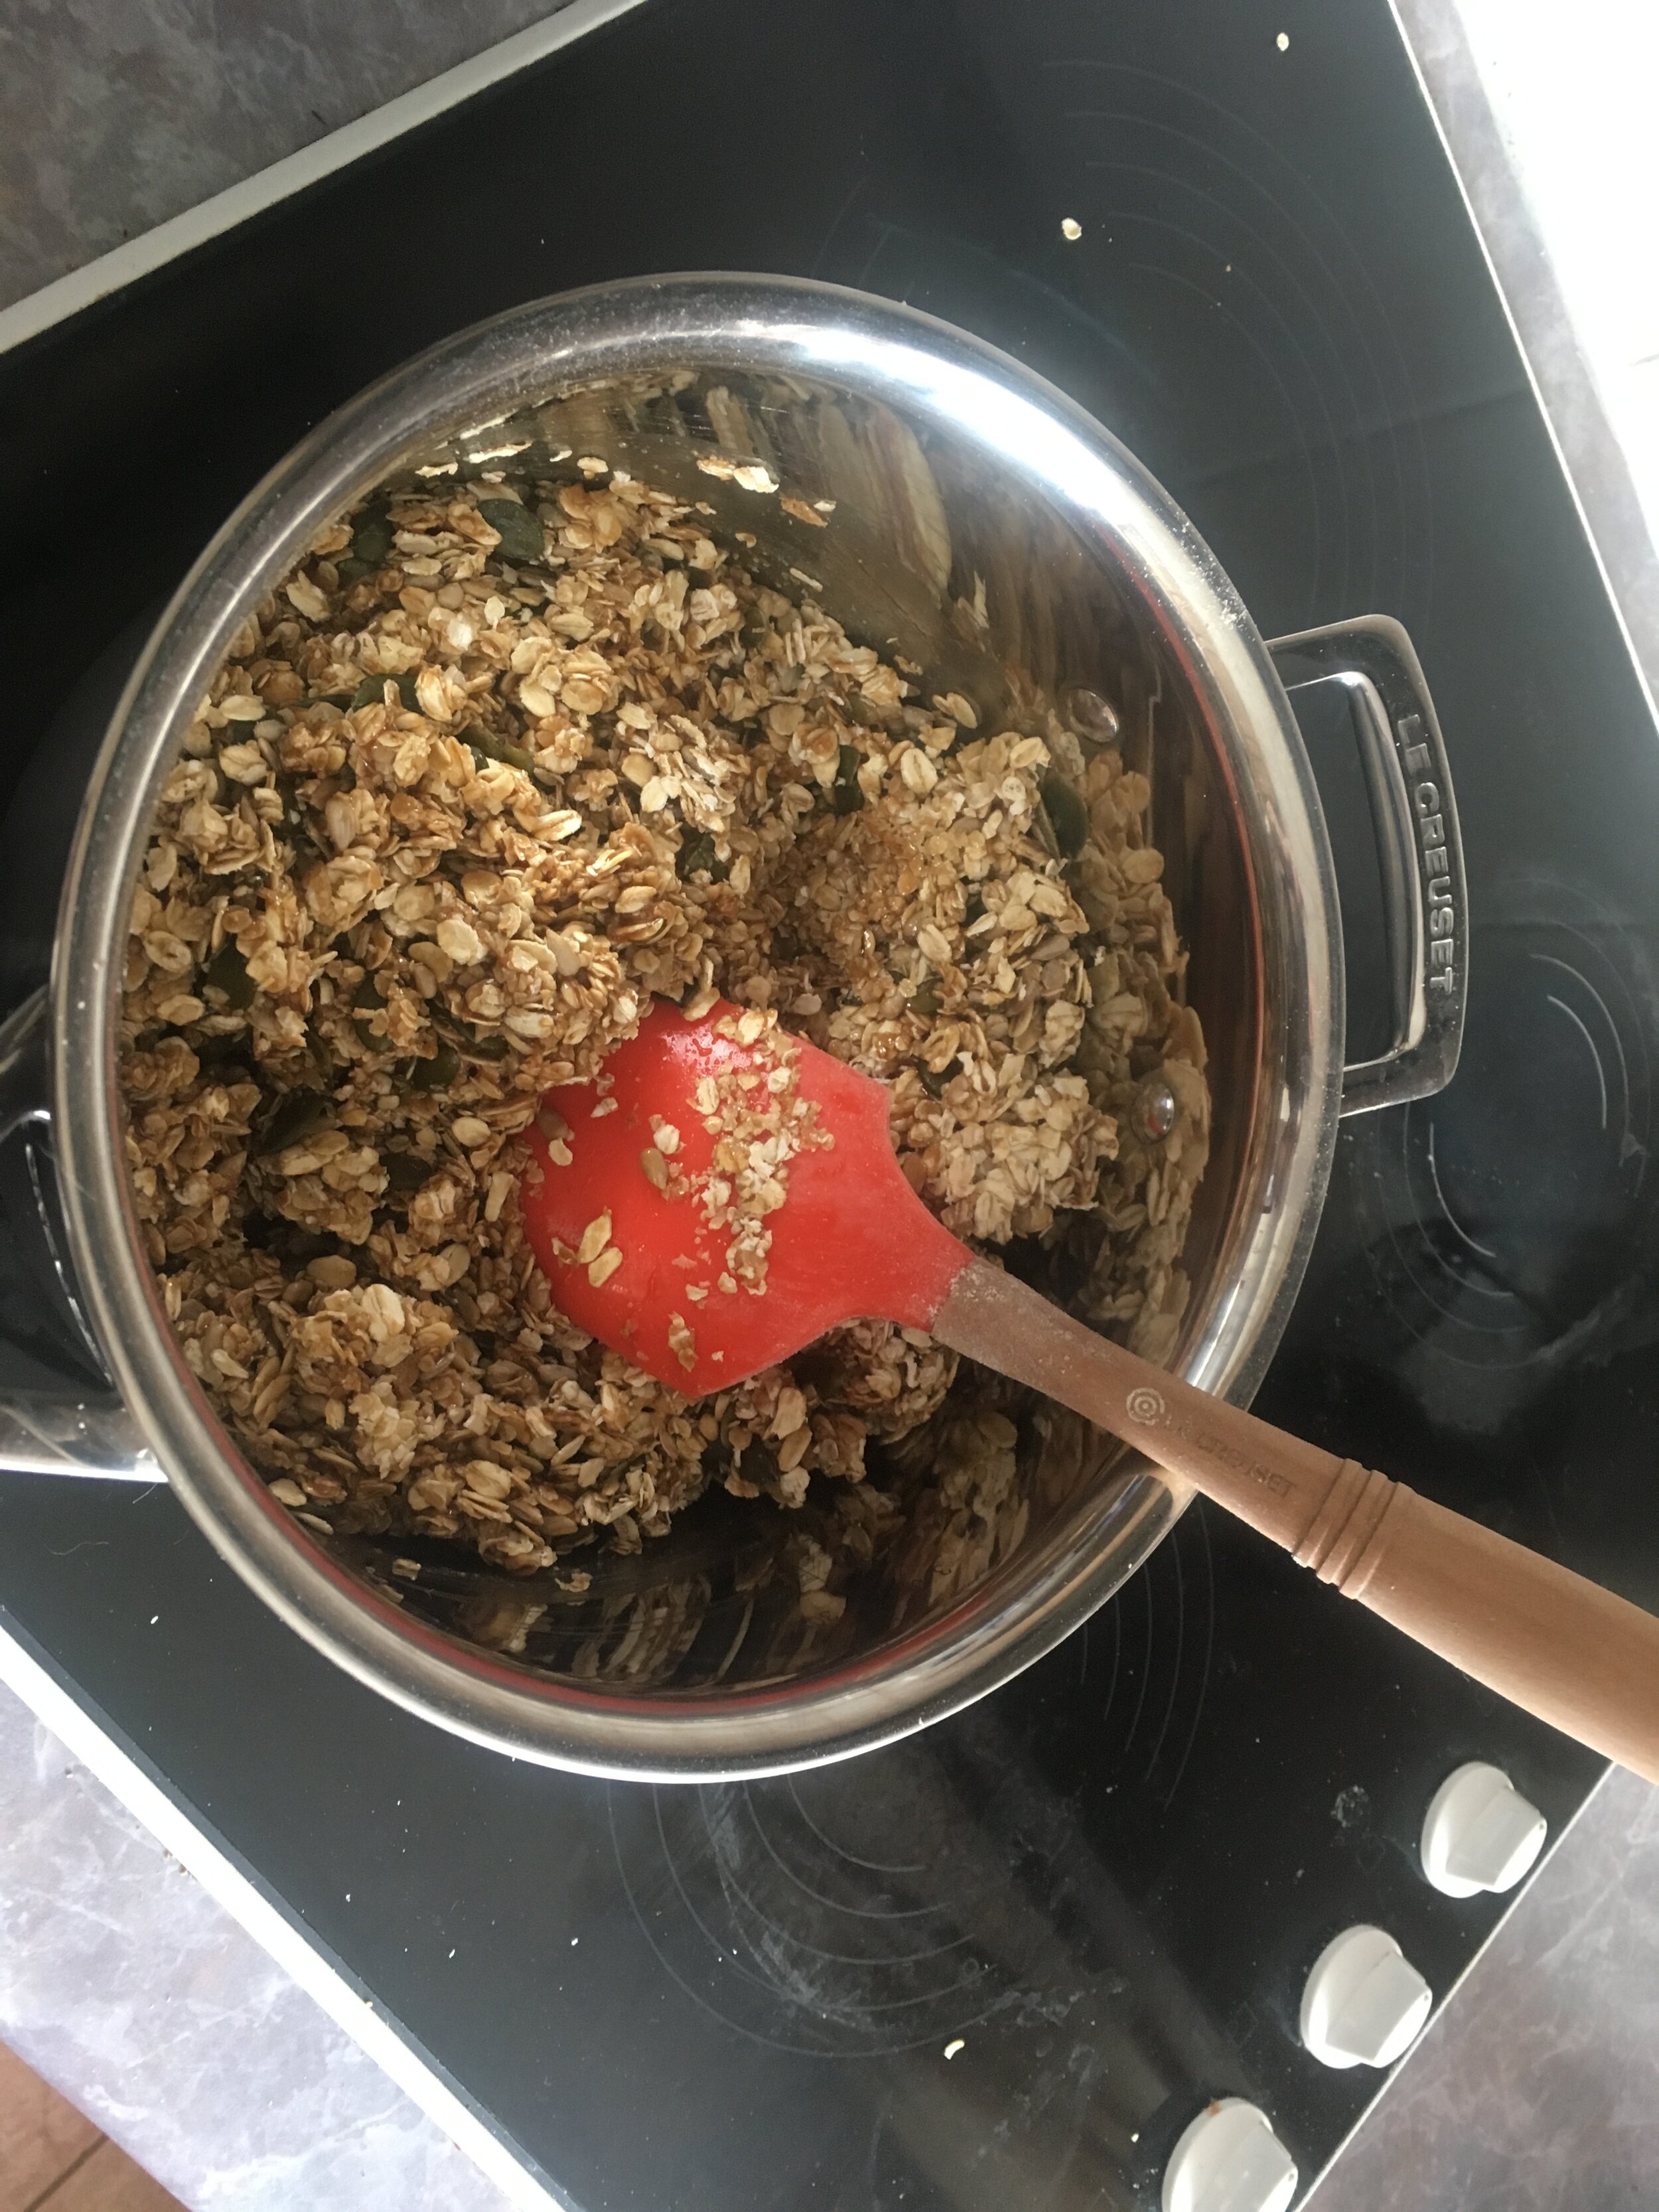
What with spending a lot of my time in the outdoors walking, camping and generally avoiding being indoors, I used to spend a lot of money on and eat a lot of muesli bars, flapjack and similar sorts of things. After a while, I found that my palate became numb to the synthetic flavours and textures and generally eating them became a chore just to get you through the day and try to fend of hunger. Sometimes I found myself not eating as I couldn’t face any more fake blueberry, not to mention the amount of non-recyclable plastic I was getting throughSo, after a bit of research and a fair deal of experimentation I came up with my now legendary outdoor flapjack recipe. In the spirit of sharing, here we go…Ingredients175 grams butter175 grams soft brown sugar175 grams golden syrup350 grams oats (I use a 60:40 ish mix of rolled oats and porridge oats)For variation I like to make each batch different. The standard version will have a handful of sunflower seeds and pumpkin seeds added. I also sometimes replace a proportion of the golden syrup with either some black treacle or when I have it, date syrup (which is lovely). I have done versions with toasted sesame seeds which seems to work. Another option is to remove a small amount of the butter and put a large dollop of organic peanut butter in the mix (I always use Meridian crunchy as it’s by far the nicest one out there and is just peanuts with no nasties like palm oil). I now always add a heaped teaspoon of salt to the mix as not only does it give a bit of a salted caramel taste, but also helps when you are working hard in the hills.Equipment??x??cm non stick baking trayMethodTurn the oven on and preheat to 150°Celsius (never had a clue about gas marks, sorry)Add the butter, sugar and syrup to a large heavy bottomed saucepan and melt slowly on a low heat until everything is dissolved, and you have a lovely golden liquid. Stir continually as you don’t want it to catch at this stage. It’s at this stage I add the salt to ensure it’s dissolved before the dry ingredients go in. when you have a few bubbles start to appear, take off the heat and mix in all of your dry ingredients and whatever else you’ve decided to add.
When mixed together, spoon the mix into a buttered non-stick baking tray, spreading out evenly making sure that in is both level and into all the corners.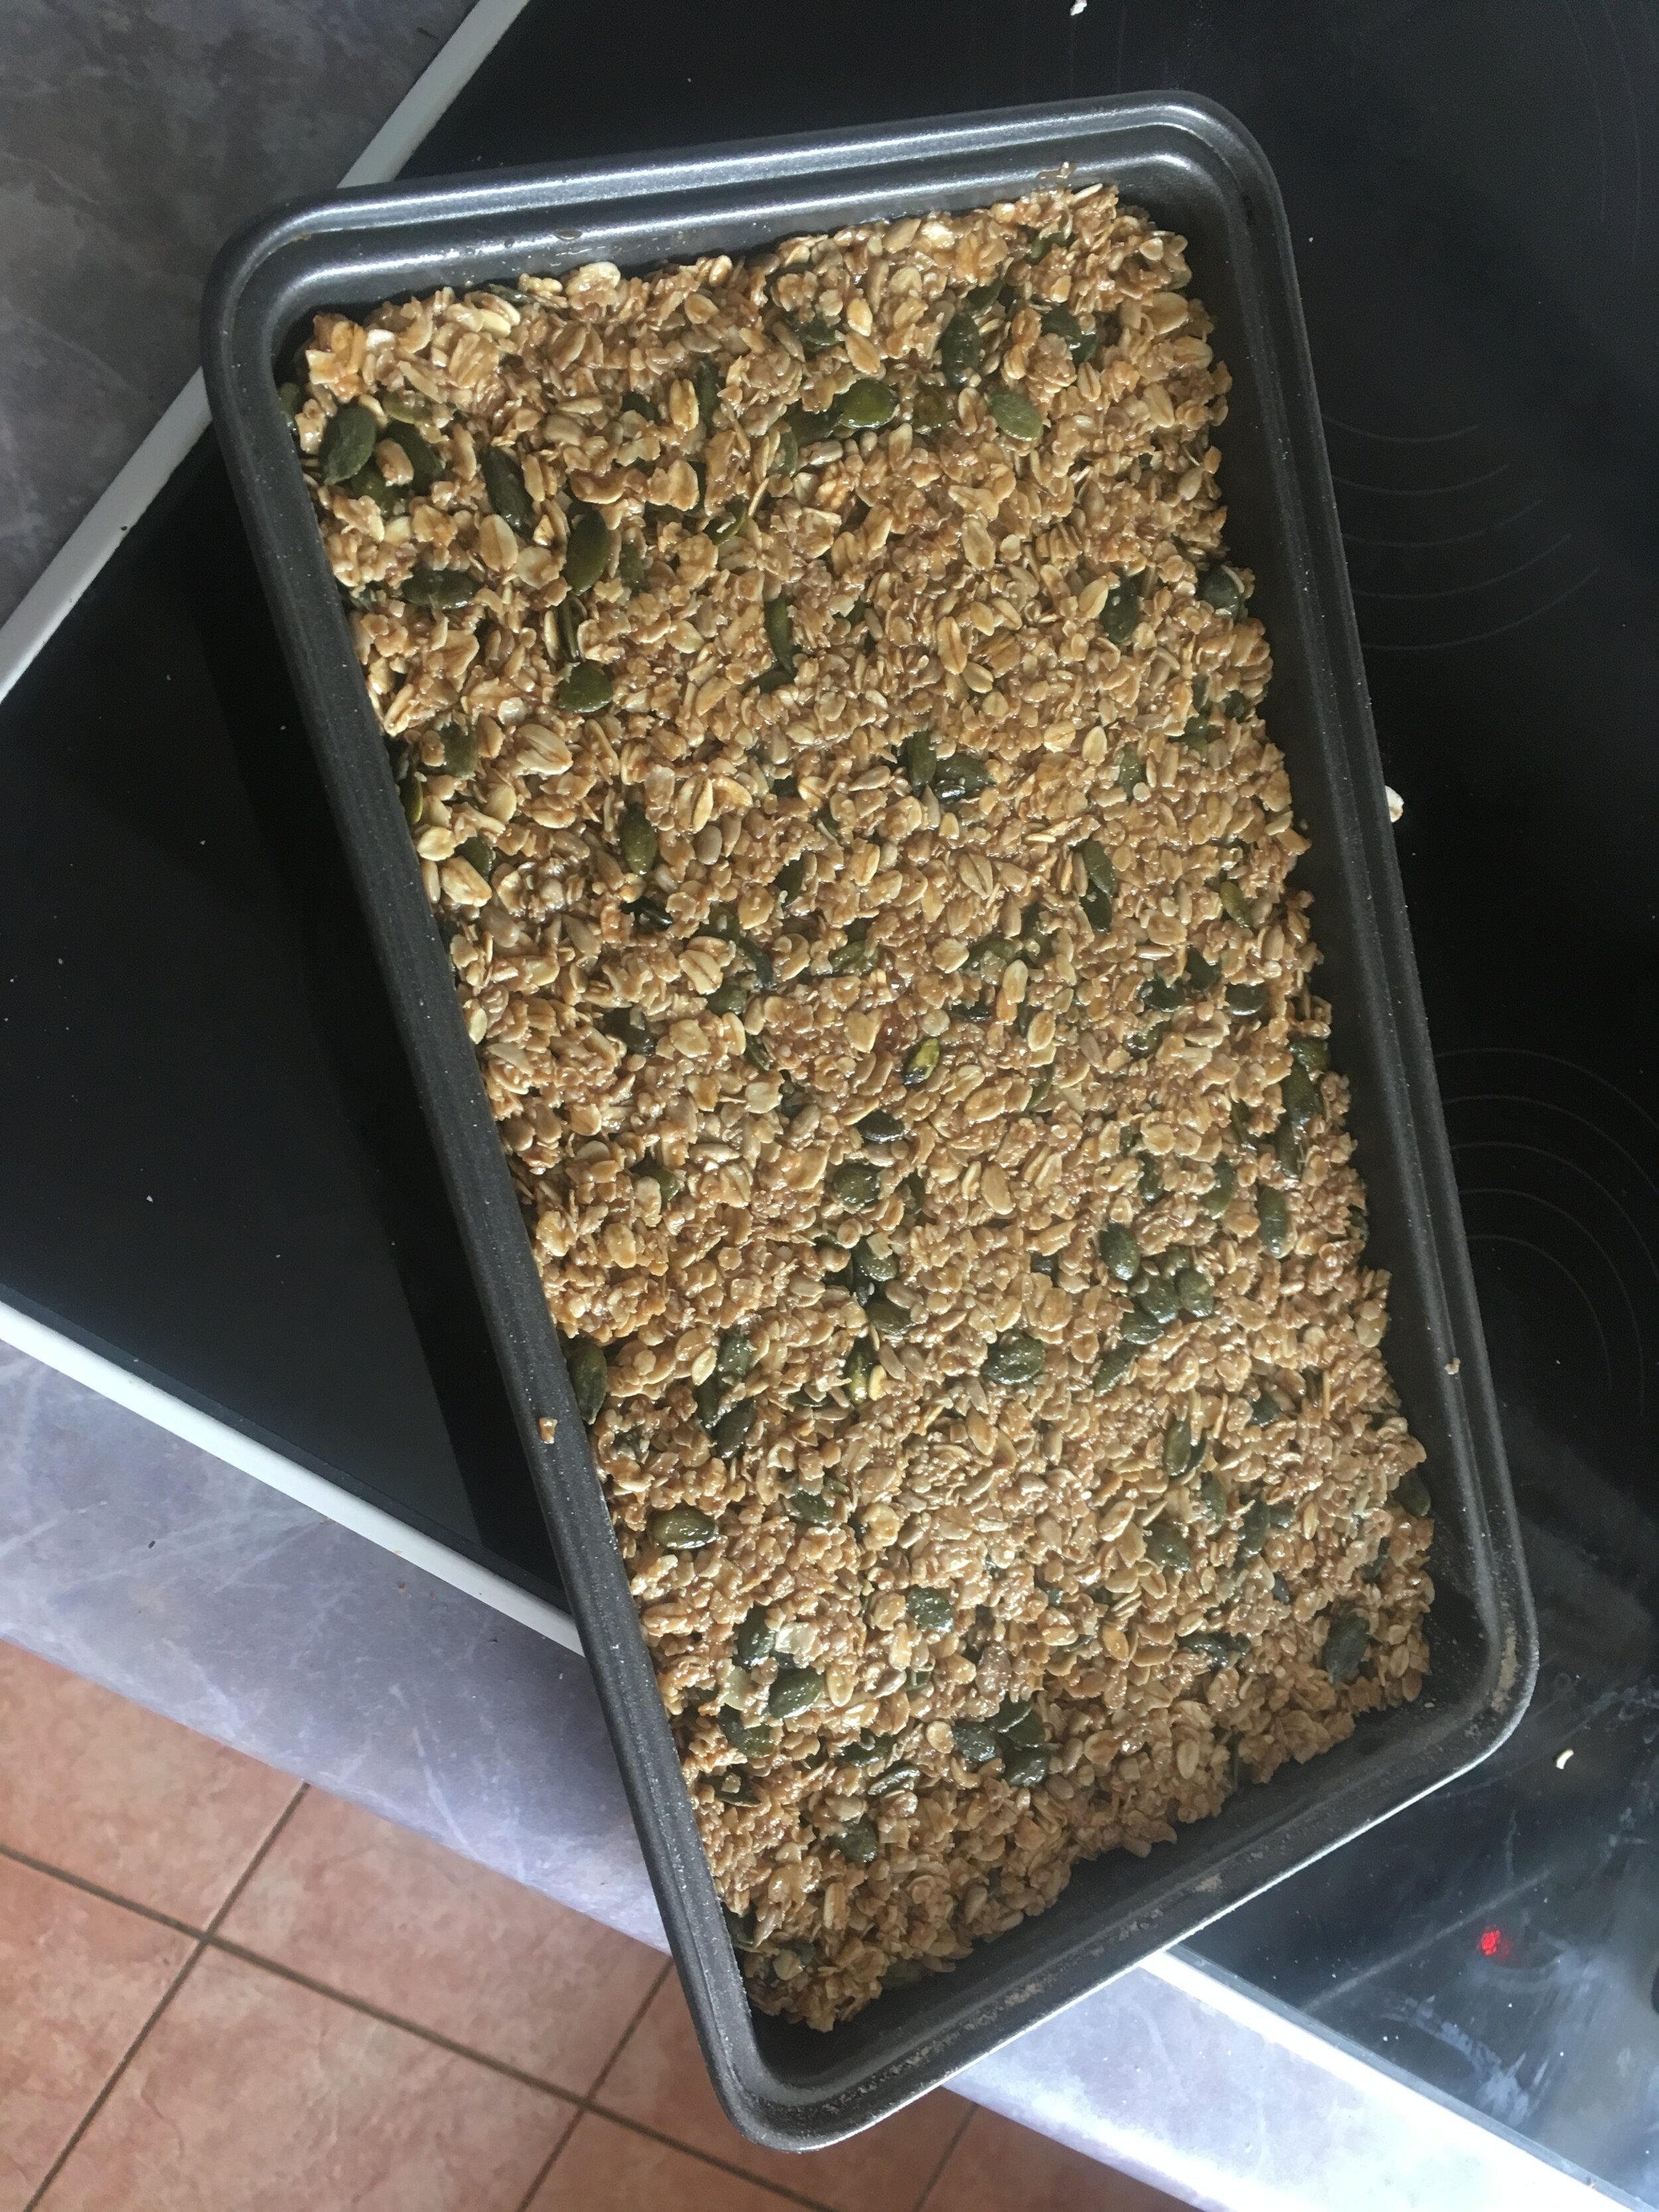 Place the tray in the preheated oven and cook for 45 minutes. Now, this is how long it takes in my mums’ posh oven. In mine, it takes a bit less (35mins) and others will vary. Basically, it’s done when still soft (as will harden as it cools) and usually when there are a few bubbles in the syrup around the edges. You will learn to adjust the cooking depending on your oven and your preferences.
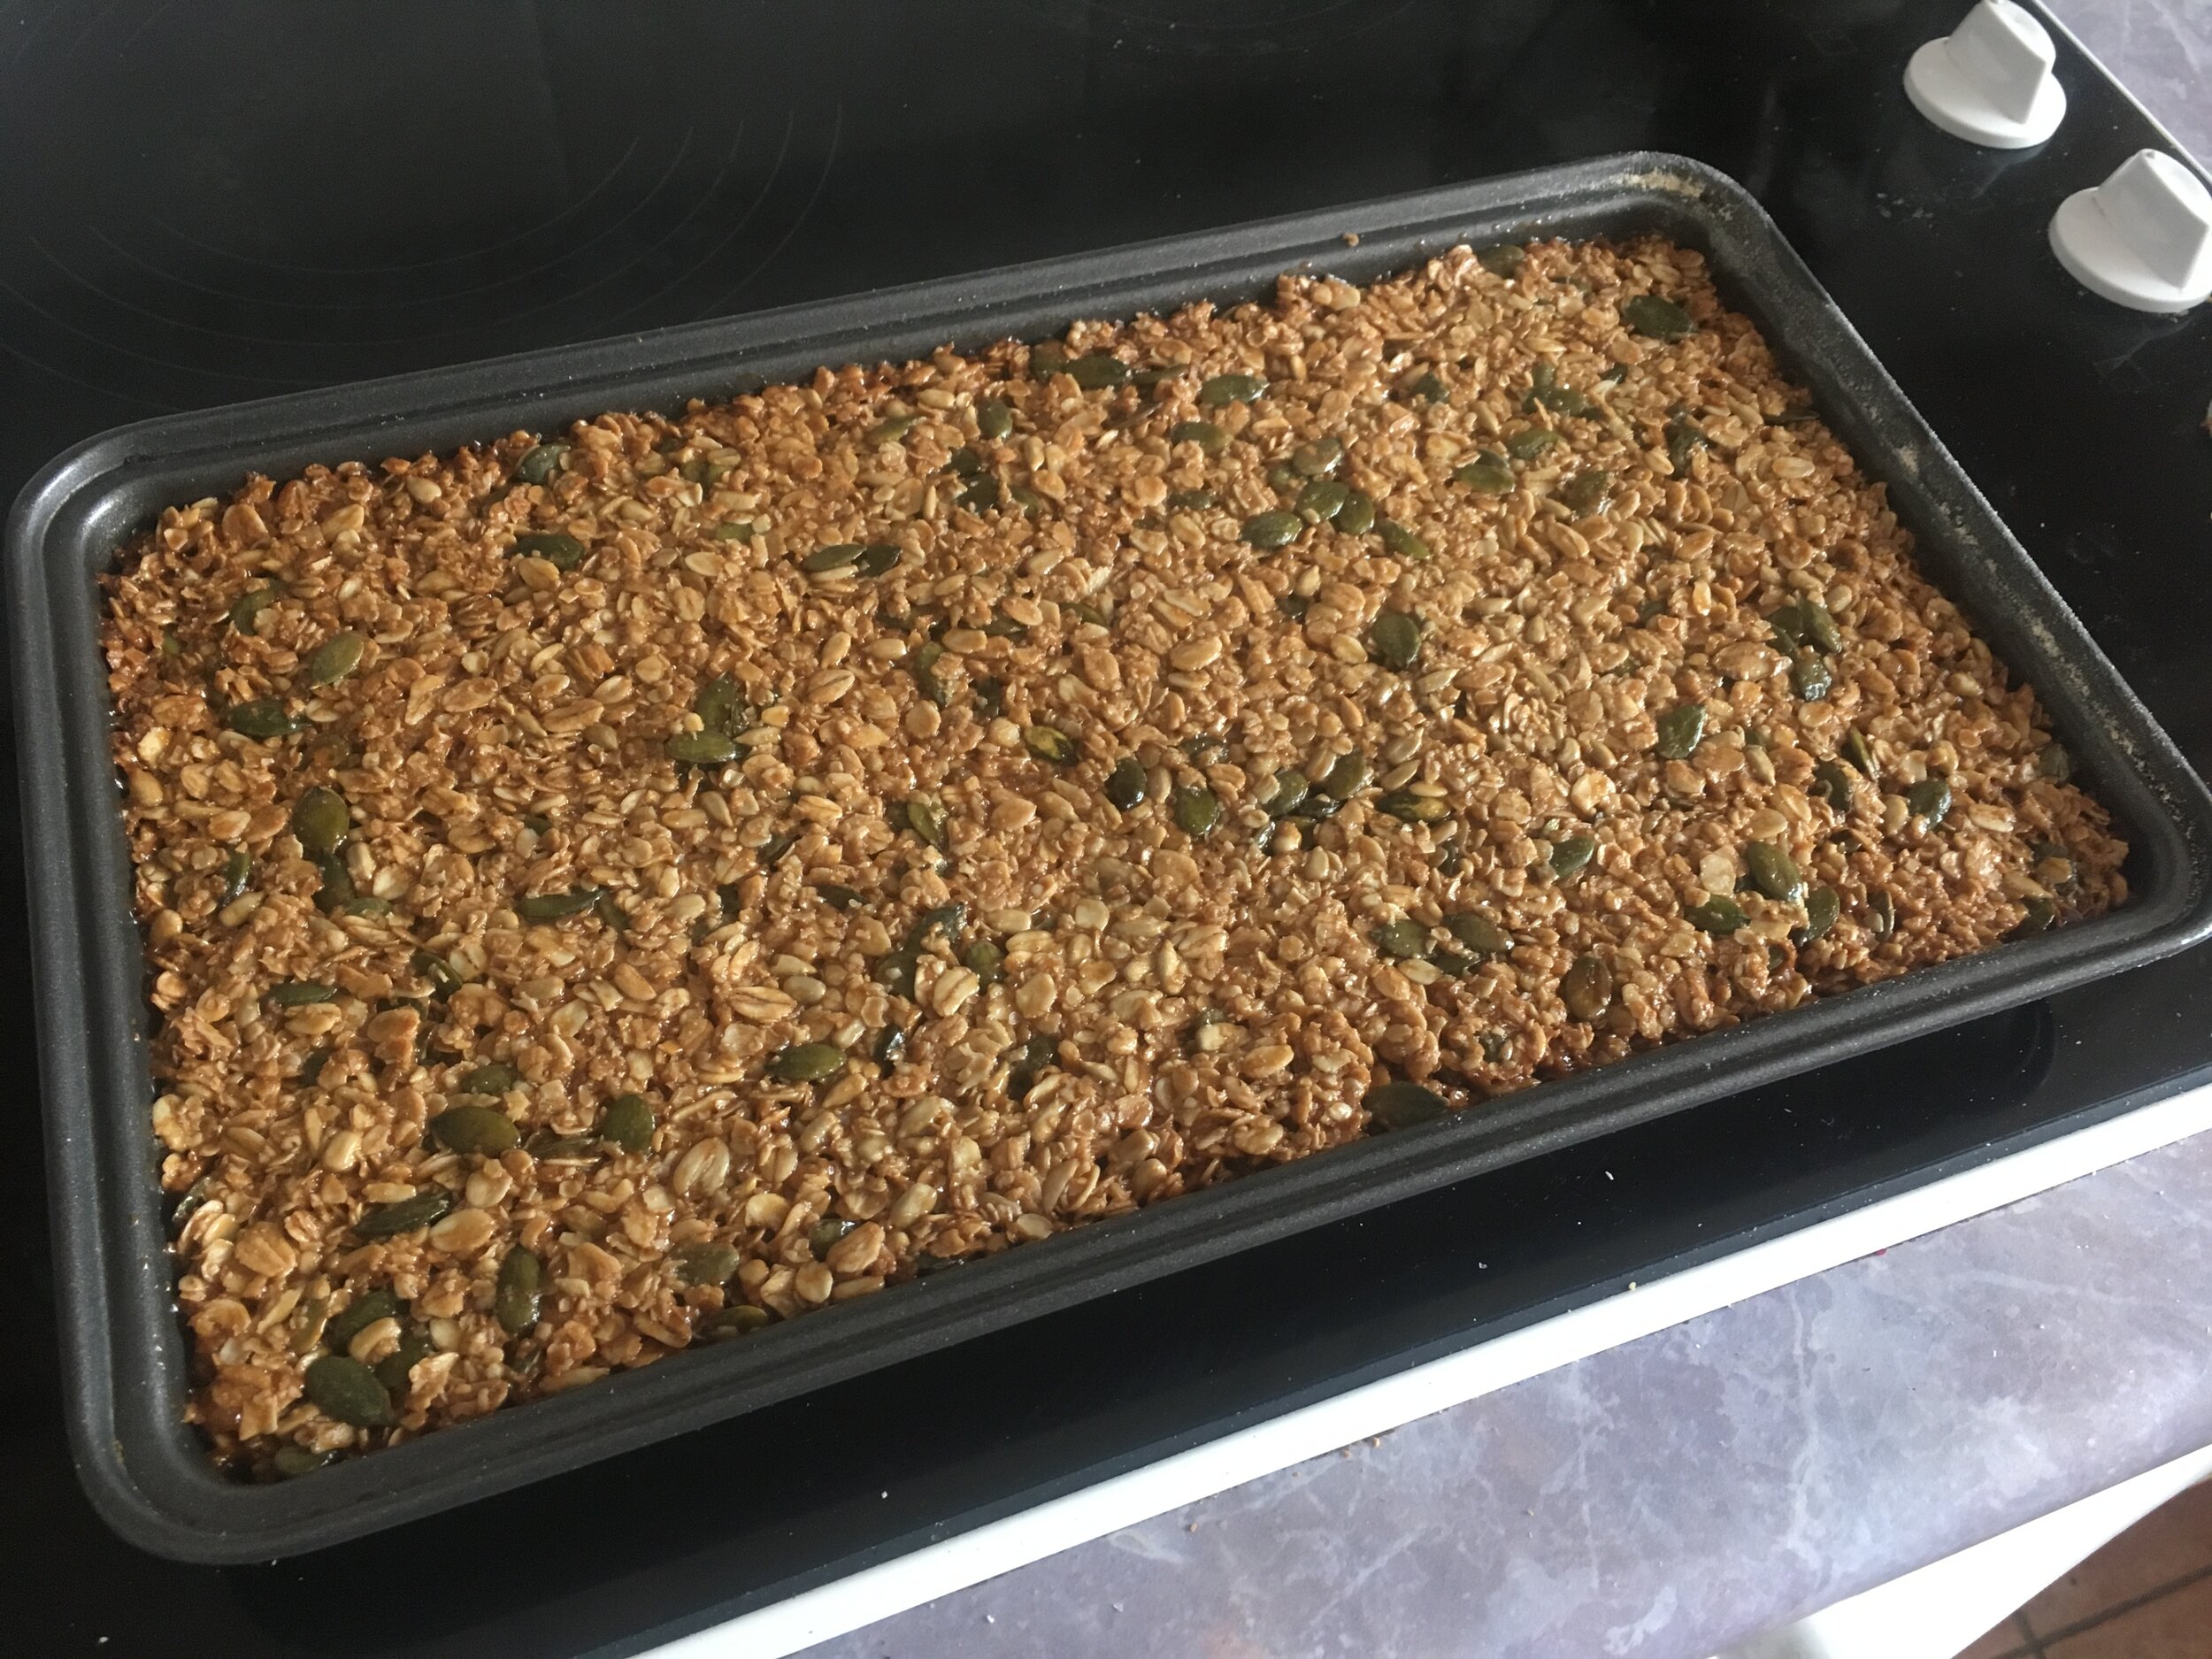 When fully cooled (don’t rush), turn the slab out onto a chopping board and cut into slices however big or small you want them. I generally find I get around 12 slices per tray.
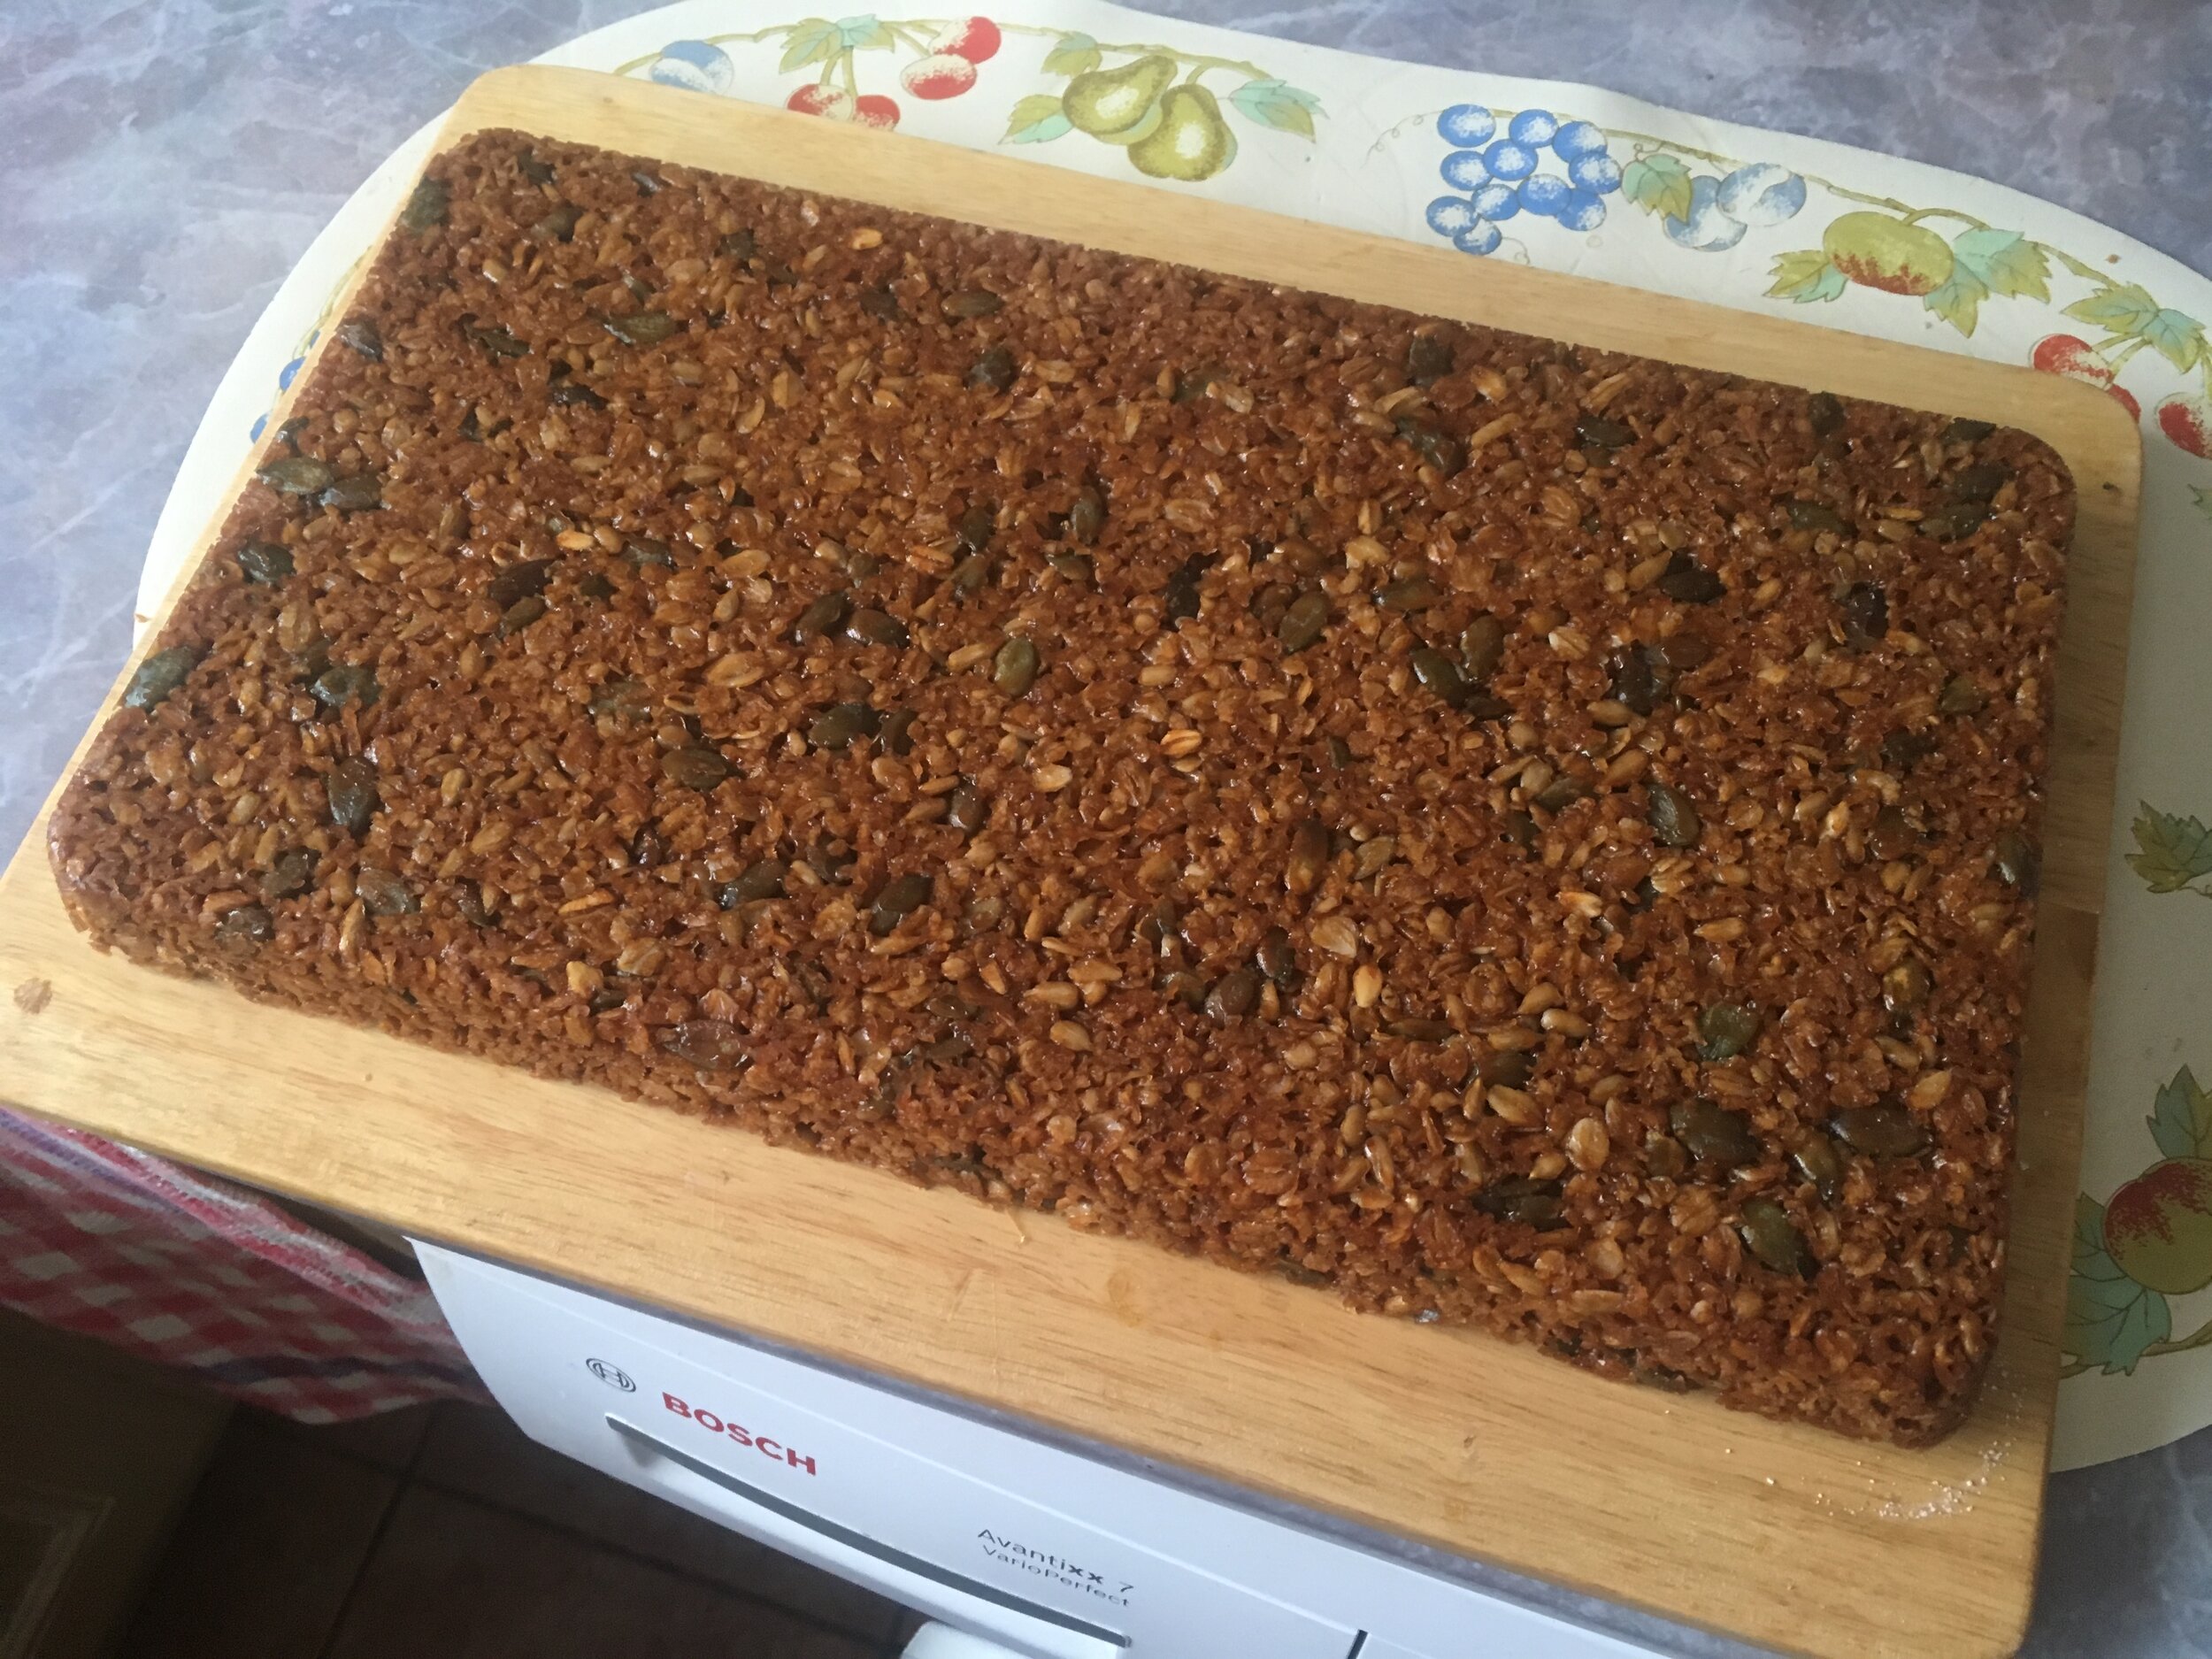 When cut up, wrap each bar in greaseproof paper and stick with a bit of tape and then store in an air tight container until needed. Clingfilm is a bit more durable but obviously not very environmentally friendly.I have found the bars keep quite happily for a couple of weeks, and even seem to get better with age.